Window Putty Removal: Oscillating Tool Techniques for Efficient Glazing Maintenance
Window putty removal can be challenging for homeowners and DIY enthusiasts. Traditional methods often involve tedious manual scraping, which can be time-consuming and potentially damaging to the window frame. Enter the oscillating tool—a versatile power tool that has revolutionized the process of removing old, hardened putty from windows.
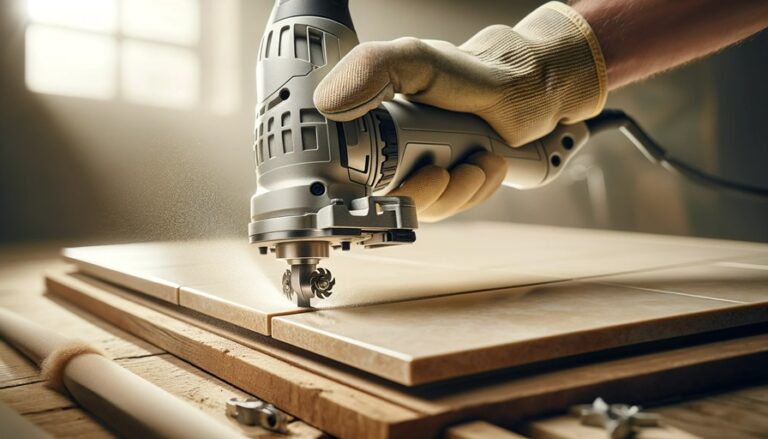
An oscillating tool equipped with the proper attachment can quickly and efficiently remove window putty, making the job faster and easier. This powerful device vibrates at high speeds, allowing it to cut through even the most stubborn putty without damaging the surrounding glass or wood. Its compact size and maneuverability make it ideal for accessing tight corners and intricate window designs.
Using an oscillating tool to remove window putty saves time and reduces the risk of accidental damage to the window frame or glass. This method benefits those working on older homes with multiple windows needing restoration. With the proper technique, homeowners can achieve professional-quality results and breathe new life into their windows.
Key Takeaways
- Oscillating tools streamline window putty removal, saving time and effort
- Proper attachments and techniques ensure safe and efficient putty removal
- This method is ideal for both DIY enthusiasts and professional window restorers
Understanding Window Putty and Its Removal
Window putty plays a crucial role in securing and sealing glass panes. However, due to deterioration or window repairs, it may require removal over time. Proper assessment and techniques are essential for effective putty removal.
The Role of Putty in Window Repairs
Window putty, or glazing compound, holds glass panes in place and creates a weatherproof seal. It prevents drafts, moisture infiltration, and rattling. Putty is typically applied as a soft, pliable material that hardens over time.
Traditional putty consists of linseed oil and whiting. Modern variants may include synthetic materials for improved durability. The putty forms a triangular bead along the edge of the glass, filling the gap between the pane and the window frame.
Proper putty application is crucial for window longevity. It protects against water damage and improves energy efficiency. Well-maintained putty can last for decades but eventually requires replacement.
Assessing Putty Condition and Removal Needs
Inspecting window putty regularly helps identify when removal is necessary. Signs of deterioration include cracking, crumbling, or separation from the glass or frame. Hardened putty may become brittle and lose its sealing properties.
Age is a factor in putty condition. Putty older than 20-30 years often requires replacement. Lead-based putty, common in older homes, poses health risks and should be professionally removed.
Testing putty consistency can determine removal needs. Gently press the putty with a fingernail. If it easily indents, it may still be functional. Hard, unyielding putty indicates replacement is due.
Removal techniques vary depending on the putty’s condition. Softened putty may scrape off easily, while hardened putty might require heat or chemical softeners. Proper tools and safety precautions are essential for effective removal.
Tools and Materials for Putty Removal
Effective window putty removal requires the right equipment and supplies. Selecting appropriate tools and gathering the necessary materials is crucial for a successful project.
Selecting the Right Oscillating Multi-Tool
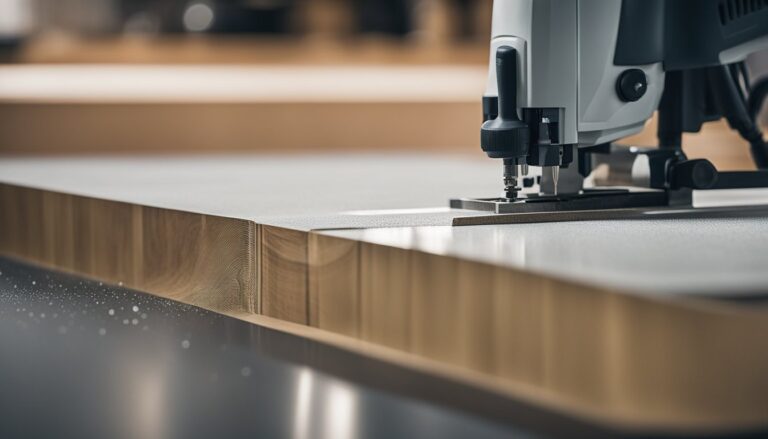
An oscillating multi-tool is essential for efficient putty removal. Look for a model with variable speed control and a comfortable grip. A 2-4 amps power tool is suitable for most home projects.
Choose blades designed explicitly for putty removal. Rigid scraper blades work well for hard putty, while flexible blades are better for softer compounds. Ensure the blades fit your tool’s attachment system.
Consider oscillating tools from reputable brands available at Home Depot. Depending on features and power, prices typically range from $50 to $200.
Additional Necessary Tools and Materials
A putty chisel or scraper is crucial for manual removal. Select a sturdy metal chisel with a sharpened edge. Putty knives in various widths can help with different areas of the window.
Heat guns can soften stubborn putty. Choose a model with temperature control for safer operation. Infrared lights or a Speedheater are alternative heating options that may be gentler on wood frames.
Protective gear is essential. Wear safety glasses, work gloves, and a dust mask. Have a vacuum cleaner ready for cleanup.
Keep glazing points and a putty chaser on hand for reinstallation. An adjustable support wheel can help steady your tools during the removal process.
Step-by-Step Guide to Removing Window Putty
Removing window putty requires careful preparation and execution. The right tools and techniques ensure a smooth process without damaging the glass or window frame.
Setting Up Your Workspace
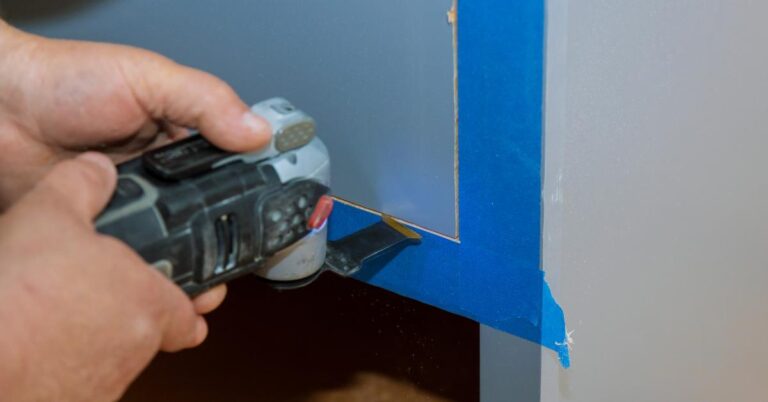
Clear the area around the window, removing any curtains or blinds. Place a drop cloth beneath the work area to catch debris. Gather necessary tools: an oscillating tool with a scraper attachment, a utility knife, a putty knife, and safety gear like gloves and goggles.
Inspect the window for any loose glass or damaged areas. Secure loose panes with tape to prevent accidents. If dealing with older windows, test the putty for lead content using a lead testing kit.
A Speedheater can soften stubborn putty for easier removal. Set up proper ventilation, especially when using heat tools. Keep pets like cats and rabbits away from the work area to avoid potential harm.
The Process of Removing Putty Safely and Effectively
Start by scoring the edge of the putty with a utility knife. This helps prevent damage to the wood sash. Use the oscillating tool with a scraper attachment to remove the bulk of the putty.
Work in small sections, moving the tool parallel to the glass. Apply gentle pressure to avoid cracking the window. For intricate areas, switch to a manual putty knife.
Heat-resistant putty may require a Speedheater. Apply heat evenly, then scrape while the putty is warm. Be cautious not to overheat the glass.
Remove any remaining putty residue with sandpaper or a wire brush. Clean the area thoroughly before applying new putty. Inspect window sashes for any damage that may need repair before reglazing.
Finalizing the Task and Restoration Tips
Proper cleaning and preparation are essential for successful restoration after removing old window putty. Careful attention to detail during these final steps ensures a professional finish and long-lasting results.
Cleaning and Preparing the Putty Groove
Clean the putty groove thoroughly using a wire brush to remove any remaining debris. A vacuum can help extract loose particles. Wipe the area with mineral spirits to eliminate residual oils.
Inspect the groove for damage—sand rough spots with fine-grit sandpaper. Fill any cracks or chips with wood filler and allow it to dry completely.
Apply a thin coat of linseed oil to the putty groove. This helps seal the wood and improves adhesion for new putty. Let the oil absorb for 24 hours before proceeding.
Restoration and Replacement Tips for Windowpanes
Carefully remove any broken glass from the window sash. Wear protective gloves and eyewear during this process. Measure the opening precisely for the new pane.
Consider using restoration glass for historic windows to maintain authenticity. Modern float glass works well for newer homes. Apply glazing points to secure the new pane.
Mix fresh putty according to manufacturer instructions. Press it firmly into the groove, creating a smooth bevel. Allow the putty to skin over before painting.
For vinyl windows, consult the manufacturer’s guidelines. Some may require specific sealants instead of traditional putty. Always follow recommended procedures for best results.