Oscillating Tool Speed for Wood: Optimizing Performance in Carpentry Projects
Oscillating tools have revolutionized woodworking, offering precision and versatility for various tasks. These versatile instruments can accurately cut, sand, and scrape wood. Selecting the right speed for your oscillating tool is crucial for achieving optimal results in woodworking projects.
An oscillating tool’s speed affects both the cut’s quality and the tool’s efficiency. Higher speeds are generally better for harder woods, while lower speeds work well for softer materials. Adjusting the speed allows woodworkers to tackle different projects easily, from intricate detailing to rough cuts.
Proper speed selection also impacts tool longevity and user safety. Using the appropriate speed reduces wear on blades and prevents overheating, ensuring smoother operation and extending the tool’s lifespan. It’s essential to consult the manufacturer’s guidelines and experiment with different speeds to find the perfect balance for each woodworking task.
Key Takeaways
- Oscillating tool speed significantly impacts cutting precision and efficiency in woodworking.
- Adjusting speed based on wood type and project requirements enhances tool performance.
- Proper speed selection improves tool longevity and user safety during woodworking tasks.
Understanding Oscillating Tools and Their Usage in Woodworking
Oscillating tools are versatile instruments that have revolutionized woodworking. These compact devices offer precision and efficiency for various tasks through their unique back-and-forth motion.
The Basics of Oscillating Multi-Tools
Oscillating multi-tools operate by moving the blade or attachment rapidly from side to side. This oscillating motion allows for controlled cutting, sanding, and scraping in tight spaces.
The tools typically oscillate between 10,000 to 20,000 times per minute. Higher speeds are ideal for cutting hard materials, while lower speeds work well for softer woods and detail work.
Most oscillating tools feature a universal fitting system, allowing quick attachment changes. Standard woodworking attachments include:
- Plunge-cut saw blades
- Sanding pads
- Scraper blades
- Grout removal blades
These versatile tools excel at flush-cutting, precise cuts in baseboards, door jambs, and trim work. They also perform well for sanding in corners and other hard-to-reach areas.
Comparing Corded and Cordless Models
Corded oscillating tools provide consistent power and are suitable for extended use. They don’t require battery changes, making them ideal for workshop environments.
Key benefits of corded models:
- Unlimited runtime
- Consistent power output
- Often more powerful than cordless alternatives
Cordless oscillating tools offer greater portability and convenience. They’re perfect for job sites or areas without easy access to power outlets.
Advantages of cordless options:
- Increased mobility
- No cord management is required
- Improved safety in some situations
Battery technology has advanced significantly, with many cordless models rivalling their corded counterparts in power and runtime. However, users should consider keeping spare batteries on hand for longer projects.
When choosing between corded and cordless, consider the intended use, work environment, and personal preferences.
Factors Affecting Speed and Precision
Speed and precision in using oscillating tools depend on multiple variables. Two key elements are the tool’s variable speed settings and selecting appropriate attachments for the job.
The Role of Variable Speed Control
Variable speed control allows users to adjust the oscillation rate. Lower speeds provide more power and precision for delicate tasks, while higher speeds increase material removal rates for faster work.
Most oscillating tools offer 6-12 speed settings, typically spanning 10,000 to 20,000 oscillations per minute (OPM). Slower speeds of around 10,000-12,000 OPM work well for detail sanding and polishing.
Mid-range speeds of 14,000-16,000 OPM suit general cutting and sanding. Top speeds of 18,000-20,000 OPM excel at aggressive material removal. Matching speed to the task improves results and extends blade life.
Importance of the Right Attachment
Choosing proper attachments significantly impacts performance. Blades, sanders, and scrapers each serve distinct purposes. Their design affects cutting speed, precision, and surface finish quality.
Wider blades remove material faster but sacrifice some control. Narrow blades offer enhanced precision for intricate cuts. Coarse-grit sanding pads speed up stock removal, while fine-grit pads produce smoother finishes.
Carbide-tipped blades maintain sharpness longer when cutting hardwoods. High-speed steel blades cost less but dull more quickly. Starlock attachments provide more secure blade mounting for improved power transfer and reduced vibration.
Selecting Blades for Optimal Cutting Performance
Choosing the right blade is crucial for achieving precise cuts and maximizing efficiency with an oscillating tool. The blade material, shape, and tooth configuration all impact cutting performance on wood and other materials.
Blades Suitable for Wood Cutting
Wood-specific oscillating tool blades typically feature a fine-tooth design. These teeth are optimized for smooth, clean cuts across wood grain. High-carbon steel blades offer good durability for most wood-cutting tasks.
For hardwoods, bi-metal blades combine flexibility with increased wear resistance. Their teeth stay sharp longer when cutting dense materials. Carbide-tipped blades excel at cutting engineered woods like MDF or plywood.
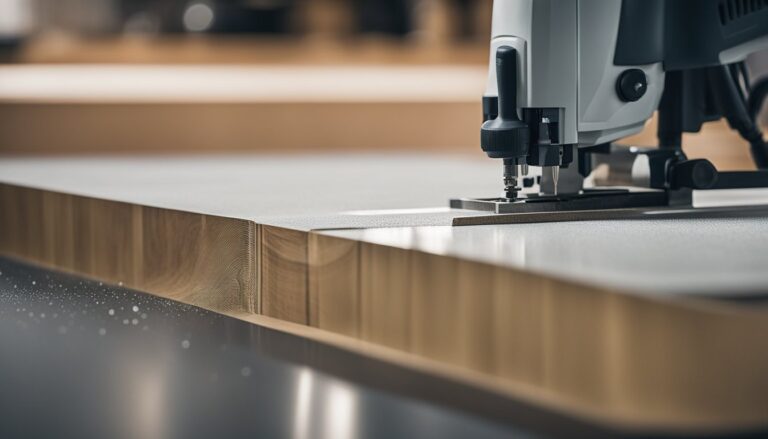
Plunge-cut blades with a pointed tip allow for easy starting cuts in the middle of a wood surface, while flush-cut blades enable trimming wood flush with adjoining surfaces.
Multi-Material Cutting Capabilities
Some oscillating tool blades are designed to cut both wood and metal. These multi-purpose blades often use bi-metal construction. The blade body flexes while maintaining a rigid cutting edge.
Diamond-grit blades can handle abrasive materials like fibre cement alongside the wood. They work well for cutting or sanding rigid composites. Carbide-grit blades offer similar versatility at a lower price point.
Segmented blades combine straight and curved cutting edges. This design allows for plunge cuts in wood and precise contour cutting. Some segmented blades include a rasp section for material removal.
Enhancing Efficiency in Tight Spaces and Complex Cuts
Oscillating tools excel at maneuvering in confined areas and executing intricate cuts. Their compact design and versatile blade movements allow for precise work in challenging locations.
Plunge and Flush Cutting Techniques
Plunge cutting enables direct entry into wood surfaces without pre-drilling. This technique proves invaluable for creating outlet holes or removing damaged flooring sections. To execute a plunge cut:
- Select a plunge-cut blade
- Position the tool perpendicular to the surface
- Slowly lower the blade while the tool oscillates
- Guide the blade through the material
Flush cutting removes protruding nails, or trims flush with the surface. Use a flexible blade for this task. Place it flat against the wood and carefully cut away the excess material.
These methods enhance efficiency in tight spaces by eliminating the need for additional tools or steps.
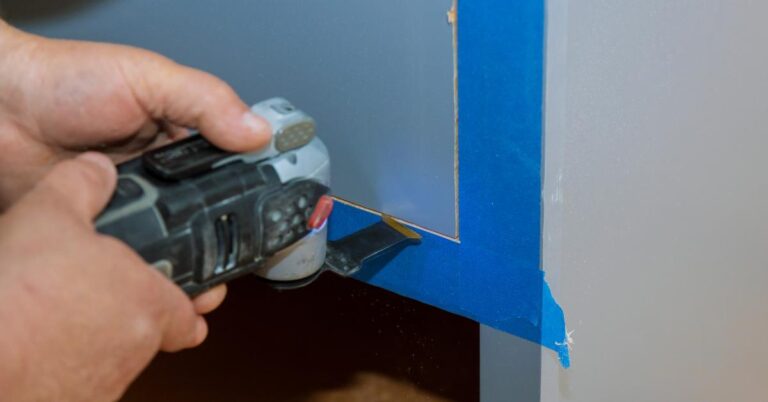
Navigating Corners and Edges
Oscillating tools shine when tackling corners and edges. Their compact heads allow access to areas where larger saws can’t reach. For precise corner cuts:
- Use a triangular blade for optimal maneuverability
- Start at a low speed to establish the cut line
- Gradually increase speed as you progress
When working along edges, maintain consistent pressure and speed. This ensures clean, straight cuts. For intricate shapes, use a narrower blade to navigate curves more easily.
Consider using shorter blades in tight spaces to improve control and reduce the risk of accidental contact with nearby surfaces.
Maintaining Your Oscillating Tool for Longevity
Proper maintenance is crucial for extending the lifespan and performance of your oscillating tool. Regular cleaning, careful storage, and adequate accessory care will keep your tool in top condition.
Regular Cleaning and Storage
Clean your oscillating tool after each use to prevent debris buildup. Remove dust and wood particles with compressed air or a soft brush. Wipe the tool’s body with a damp cloth, avoiding excessive moisture near electrical components.
Store the tool in a dry, cool place away from direct sunlight. Use the original case or a toolbox to protect it from impacts and dust. Keep the power cord neatly coiled to prevent damage.
Inspect the tool’s vents regularly and clear any obstructions. This ensures proper airflow and prevents overheating during operation.
Blade and Accessory Maintenance
Check blades and accessories for wear before each use. Replace dull or damaged items promptly to maintain cutting efficiency and prevent tool strain.
Clean attachments after use, removing any residue or buildup. To prevent rust on metal blades, apply a light coat of machine oil.
Store accessories in a dedicated case or organizer to protect their edges. This prevents accidental damage and keeps them easily accessible.
Sharpen reusable blades when they become dull. Use a fine-grit sharpening stone or file, following the original edge angle. Be careful not to overheat the blade during sharpening.
Safety Measures and Best Practices
Proper safety protocols are essential when using oscillating tools for woodworking. These measures protect users from potential injuries and ensure a secure working environment.
Personal Protective Equipment
Safety glasses are crucial to shielding eyes from wood chips and debris. Wear them at all times when operating an oscillating tool. Ear protection, such as earplugs or earmuffs, helps prevent hearing damage from prolonged exposure to tool noise.
Gloves offer hand protection but can reduce dexterity. If using them, choose cut-resistant gloves. A dust mask or respirator is vital to prevent the inhalation of fine wood particles, especially during sanding tasks.
Avoid loose clothing that could get caught in the tool. Tie back long hair and remove jewellery before starting work.
Operating Procedures and Precautions
Always read the tool’s manual before use. Inspect the tool and accessories for damage before each use. Replace worn or damaged parts immediately.
Secure workpieces firmly to prevent movement during cutting or sanding. Use clamps or a vice for stability.
Start the tool before contacting the workpiece and maintain a firm grip. Apply steady, even pressure without forcing the tool. Let it do the work at its own pace.
Keep the work area clean and well-lit. Remove clutter to prevent tripping hazards. Ensure proper ventilation to disperse dust and fumes.
Disconnect the tool from power when changing accessories or performing maintenance. Store the tool in a dry, secure place out of reach of children when not in use.