Cutting Subfloor with Oscillating Tool: Efficient Method for Home Renovations
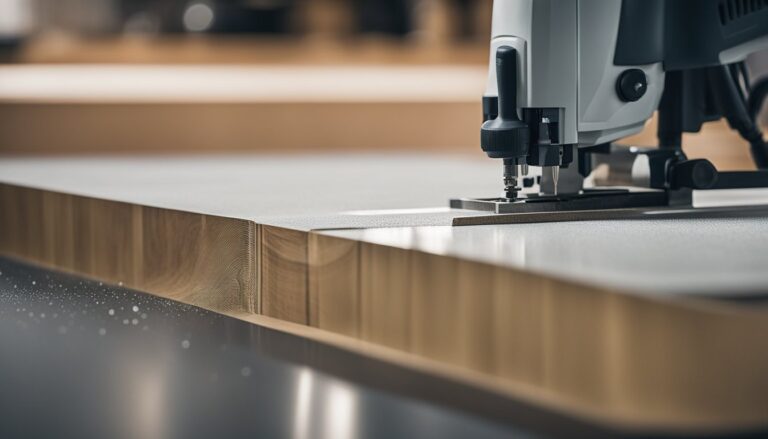
Cutting the subfloor with an oscillating tool is a precise and efficient method for home renovations and repairs. This versatile power tool allows for accurate cuts in tight spaces, making it ideal for subfloor modifications. An oscillating tool can cut through various subfloor materials, including plywood, OSB, and particle board, with minimal dust and debris.
Proper preparation and safety measures are crucial when using an oscillating tool on a subfloor. Selecting the right blade for the material and marking cut lines ensure clean, accurate results. Homeowners and professionals can benefit from this technique to address subfloor damage or make necessary modifications during flooring installations.
Key Takeaways
- Oscillating tools provide precise cuts for subfloor modifications with minimal dust.
- Proper blade selection and clear markings ensure accurate and clean cuts
- Safety precautions and correct technique are essential for successful subfloor cutting
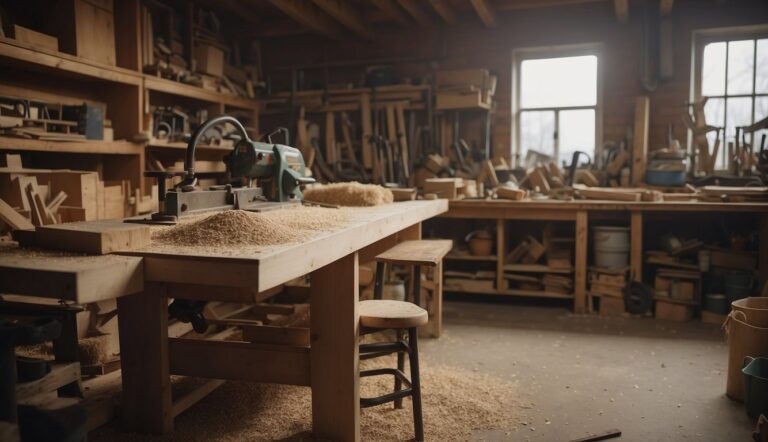
Essential Tools and Materials
Proper equipment and safety gear are crucial for effectively cutting subfloors with an oscillating tool. The right blade and protective measures ensure precision and minimize risks.
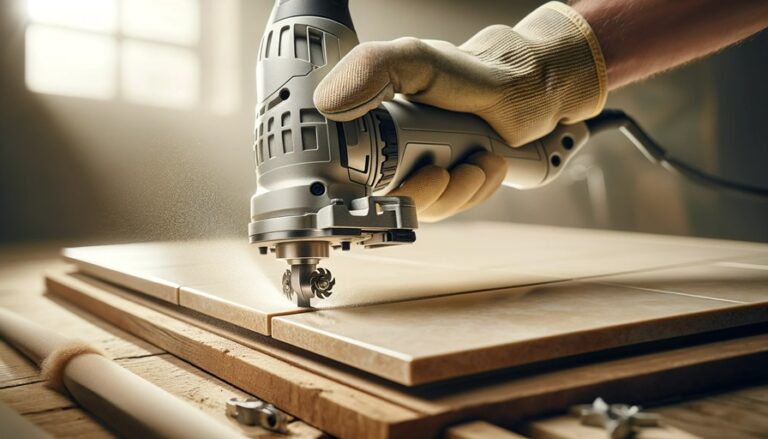
Selecting the Right Blade
Choosing an appropriate blade is critical for cutting the subfloor with an oscillating multi-tool. A metal-cutting blade works well for most subfloor materials. These blades feature carbide teeth that can slice through nails or screws hidden in the subfloor.
A wood-cutting blade offers cleaner cuts for wood subfloors. The blade’s size and shape affect cutting speed and accuracy. Wider blades cover more area but may struggle with tight corners.
Blade quality matters. Premium blades last longer and cut more efficiently. Always check blade compatibility with the oscillating tool model.
Safety and Preparation
Safety should be the top priority when cutting the subfloor. Ear protection is essential due to the high-pitched noise of oscillating tools, and safety glasses guard against flying debris.
A dust mask prevents inhalation of harmful particles. Knee pads provide comfort during extended floor work. Gloves protect hands from sharp edges and vibrations.
Proper subfloor preparation is crucial. Use a utility knife to score cut lines for cleaner edges. A 3/4-inch auger bit can create starter holes for the oscillating tool blade.
Clear the work area of obstacles. Secure loose boards to prevent vibration. Mark utility lines to avoid accidental cuts. Adequate lighting improves visibility and precision.
Cutting Techniques and Tips
Effective subfloor cutting with an oscillating tool requires specific techniques and safety precautions. Proper tool handling around obstacles and careful attention to detail ensure precise cuts for various flooring types.
Working Around Joists and Walls
Mark the locations of joists when cutting the subfloor near them. Set the oscillating tool’s depth to match the subfloor thickness. Make plunge cuts between joists, keeping the blade perpendicular to the surface.
Use a flush-cut blade for cuts along walls. Position it against the base plate or bottom wall plate. Move the tool slowly and steadily to avoid damaging the wall structure.
Consider using a metal-cutting blade when encountering nails. This prevents damage to the tool and ensures a clean cut through wood and metal.
Dealing With Nails and Pipes
Inspect the area for nails and pipes before cutting. Use a stud finder or metal detector to locate hidden fasteners and mark their positions.
When cutting near pipes, use extra caution. Opt for a blade with a depth stop to prevent accidental pipe damage. Cut slowly around pipe protrusions, maintaining a safe distance.
Consider using a reciprocating saw for initial cuts for areas with multiple nails. For precision and flush cuts, follow up with the oscillating tool.
Precision Cuts for Flooring
Accurate cuts are crucial for installing laminate, plywood, or tongue-and-groove flooring. Measure twice and mark cutting lines. Use a straightedge as a guide for long, straight cuts.
Start with a plunge cut at the circle’s edge for circular cuts. Work your way around, following the marked line. Take breaks to prevent the tool from overheating.
When cutting intricate shapes, make multiple passes. Remove small sections at a time for better control and precision. Clean up rough edges with a finer blade or sandpaper for a perfect fit.
Addressing Subfloor Damage
Subfloor damage can compromise a home’s structural integrity. Identifying and addressing issues promptly helps prevent further deterioration and ensures a stable foundation for flooring.
Identifying and Assessing Water Damage
Water damage is a common culprit in subfloor deterioration. Signs include discolouration, warping, and a musty odour. Moisture meters can detect excess humidity in the subfloor material. Homeowners should check for leaks from burst pipes or improperly sealed fixtures.
Regular inspections are crucial, especially after heavy rains or plumbing issues. Look for soft spots, sagging, or creaking when walking across the floor. These may indicate underlying water damage or structural problems.
Excessive humidity can also lead to subfloor damage over time. Proper ventilation and dehumidification in crawl spaces or basements help prevent moisture buildup.
Repairing and Reinforcing Damaged Joists
Damaged joists require prompt attention to maintain floor stability. Inspect joists for cracks, splits, or signs of rot. S sistering may address minor damage, where a new joist is attached alongside the damaged one.
For more extensive damage, replacement of the affected joist may be necessary. This involves carefully removing the damaged section and installing a new joist of the exact dimensions.
Construction adhesives and heavy-duty fasteners strengthen joint connections during repairs. In weakened areas, blocking between joists can provide additional support.
Improper installation or undersized joists may require reinforcement. Adding support joists or using engineered lumber can increase load-bearing capacity.
After repairs, apply a protective sealant to prevent future moisture damage. Ensure proper ventilation is maintained to keep the subfloor dry and structurally sound.
Finalizing the Installation
After cutting the subfloor with an oscillating tool, it’s time to complete the flooring project. Remove debris and dust from the cut areas. If required, install underlayment for the chosen floor covering.
Apply a suitable sealant to protect against moisture for waterproofing. This step is crucial in bathrooms and kitchens. Allow the sealant to dry completely before proceeding.
Next, install the new floor covering. Options include self-adhesive tiles, sheet vinyl, luxury vinyl plank, solid hardwood, engineered wood flooring, or carpeting. Follow manufacturer instructions for proper installation techniques.
If it wasn’t done earlier, remove the baseboard. This allows for a clean finish and accommodates the thickness of the new flooring. Once the flooring is in place, reinstall the baseboard.
Consider adding quarter-round trim where the baseboard meets the new floor for a polished look. This will cover any small gaps and provide a professional finish.
Ensure all seams and edges are properly sealed. This prevents moisture intrusion and extends the life of the new flooring. Clean the entire floor surface thoroughly before use.